Help Pets Stay Calm Around Vacuuming: 2-Week Plan
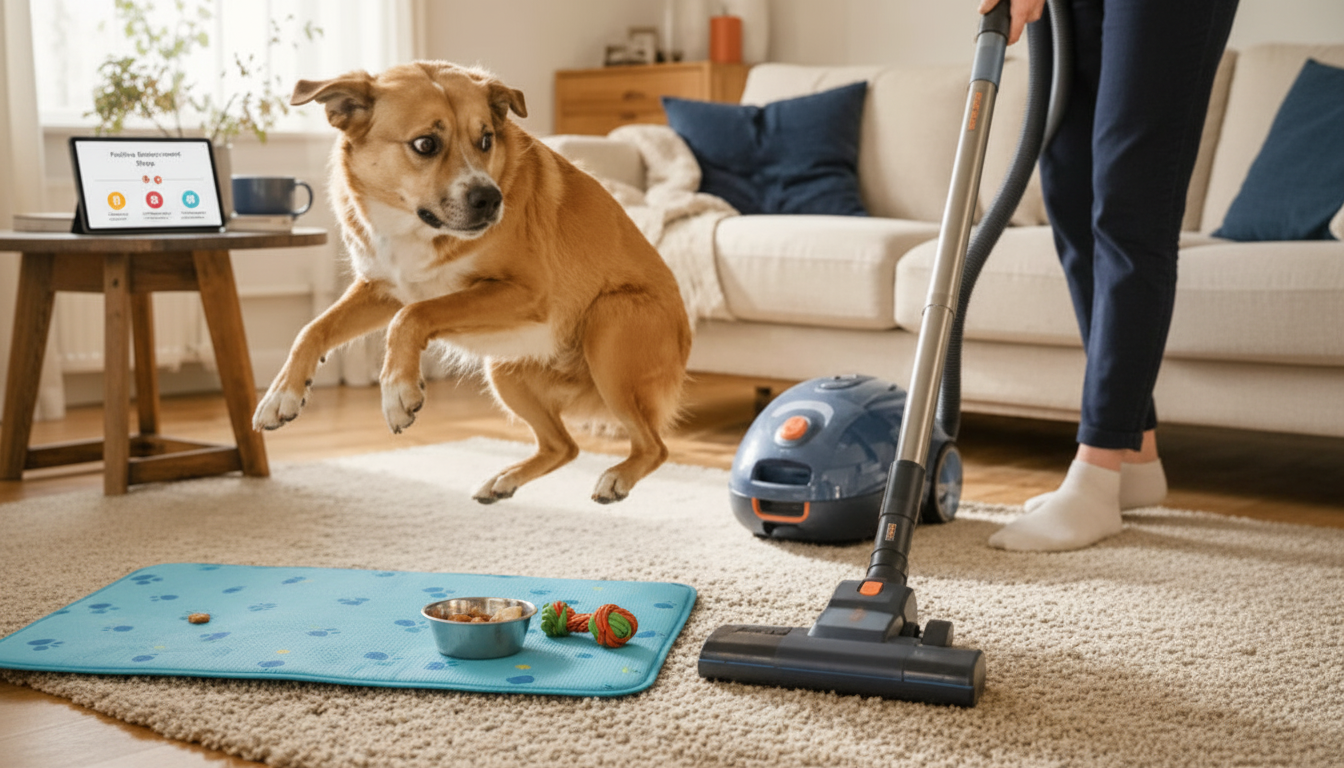
Helping Pets Handle Vacuum Stress: A Calm, Step-by-Step Plan for Cleaner Floors
Vacuum cleaners can feel unpredictable to pets: loud noise, sudden movement, and unfamiliar scents. The good news is that many animals can learn to stay calm around vacuuming through gradual practice, smart setup, and a reliable “safe zone.” Below is a practical plan for dogs and cats, common mistakes to avoid, and a simple two-week schedule to make cleaning days easier for everyone.
Why vacuums bother pets
From a pet’s point of view, a vacuum can be an oddly threatening mix of sound, motion, and sensory changes. Understanding the “why” makes it easier to pick the right solution.
- Noise sensitivity: high-pitched motor sounds can be intense for dogs and cats, especially in smaller rooms.
- Movement and approach: a vacuum rolls, turns, and follows people, which can look like a threat or prey.
- Vibrations and airflow: floor vibration and shifting air can feel strange under paws and whiskers.
- Scent changes: the vacuum stirs dust and releases “new” smells that pets may want to investigate or avoid.
- Past learning: one scary experience (startled awake, chased by the vacuum, cornered) can create a lasting association.
Common stress signals during vacuuming
| Pet | What you might see | What it can mean | Best immediate response |
|---|---|---|---|
| Dog | Panting, pacing, whale eye, tail tucked | Fear or hyperarousal | Pause vacuum, increase distance, offer a calm retreat spot |
| Dog | Barking, lunging, snapping at the vacuum | Defensive behavior or chasing instinct | Put the vacuum away, switch to training sessions without power, use a barrier |
| Cat | Hiding, crouching, ears back, dilated pupils | Fear and seeking safety | Provide a quiet room, close the door, add white noise |
| Cat | Bolting, climbing, swatting at moving parts | Panic or defensive response | Stop immediately, create vertical escape routes, restart only with desensitization steps |
Set up a calm cleaning routine before training begins
Before you start any training, make vacuuming less intense and prevent your pet from practicing panic behaviors. These “management” steps often reduce stress immediately, even if training takes longer.
- Create a predictable safe zone: a bedroom, crate (door open), or cat room with water and a familiar bed.
- Use sound management: close doors, run a fan or white noise, and choose lower-noise settings if available.
- Add distance first: vacuum the farthest area from the pet’s retreat spot and work closer only if calm.
- Prevent chasing: use baby gates or a closed door so pets can’t rehearse barking/lunging at the vacuum.
- Keep rewards ready: small treats or lick mats can help replace worry with a steady, soothing activity.
- Aim for short sessions: several 2–5 minute cleanups can be easier than one long vacuum marathon.
If you want a printable, repeatable routine that helps you track exposure levels and reward timing, Helping Pets Handle Vacuum Stress is a structured guide you can follow session by session.
A simple desensitization plan (dogs and cats)
Desensitization works best when your pet stays under threshold—aware of the vacuum, but still able to eat, move normally, and recover quickly. Keep sessions easy enough that your pet succeeds.
Step-by-step ladder
- Step 1 — Vacuum as furniture: place the vacuum in the room, turned off. Reward calm glances and relaxed body language.
- Step 2 — Micro-movement: roll the vacuum a few inches without turning it on. Reward calm; stop before tension rises.
- Step 3 — Add sound at a distance: turn it on in another room for 1–2 seconds. Reward after the sound stops, then gradually lengthen.
- Step 4 — Sound + movement: run the vacuum briefly while the pet is behind a gate or in a safe room with a treat activity.
- Step 5 — Normalize: vacuum one small area while the pet remains relaxed, then end the session with something positive (walk, play, meal).
- Progression rule: if the pet startles, freezes, or tries to flee, the next session should be easier (more distance, shorter duration, lower setting).
Two-week practice schedule (adjust to your pet’s pace)
| Days | Goal | Session length | Success looks like |
|---|---|---|---|
| 1–3 | Vacuum present, off | 2–3 minutes | Pet can eat treats and move normally |
| 4–6 | Vacuum rolls, off | 2–3 minutes | No retreating; relaxed posture returns quickly |
| 7–9 | Brief sound from another room | 1–2 minutes | Startle is mild and recovery is fast |
| 10–12 | Sound + movement at distance | 2–4 minutes | Pet remains in safe zone calmly |
| 13–14 | Normal vacuuming in small sections | 3–5 minutes | Pet chooses to rest, chew, or ignore the vacuum |
Mistakes that can make vacuum stress worse
For more behavior-focused context, the American Veterinary Society of Animal Behavior (AVSAB) and the ASPCA’s guide to fear in dogs offer helpful, science-informed direction on reducing fear safely.
Support tools that can help
For cat-specific stress signals and environment tips, International Cat Care is a strong reference.
Guided help for building calmer cleaning days
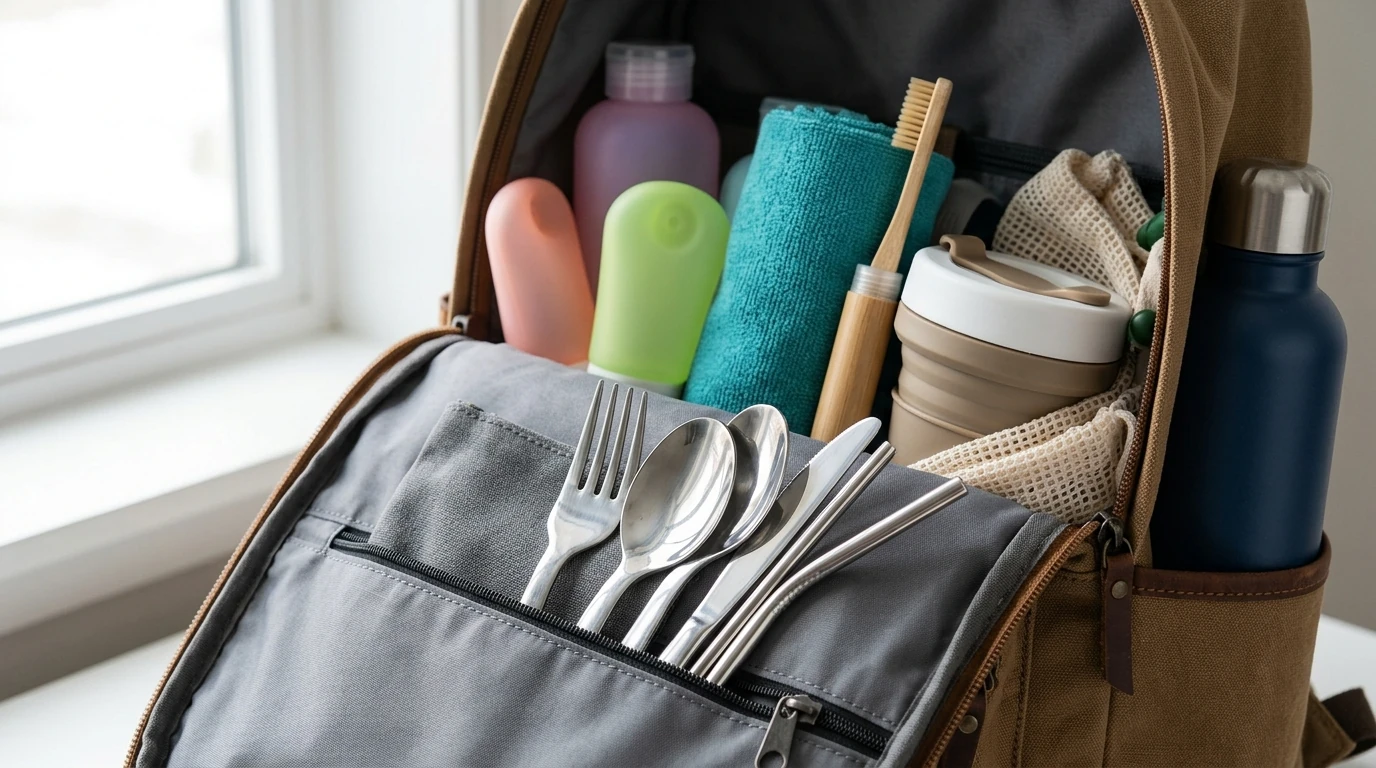
If you like having a checklist-style approach you can stick on the fridge, Helping Pets Handle Vacuum Stress keeps the process clear and measurable. And if your pet’s stress shows up in other noisy, unfamiliar situations (like hotels, family visits, or road trips), a simple planning tool like the Pet Travel Essentials Checklist for Safe Trips can help you pack calming basics and keep routines predictable away from home.
FAQ
What kind of pets freak out with vacuums?
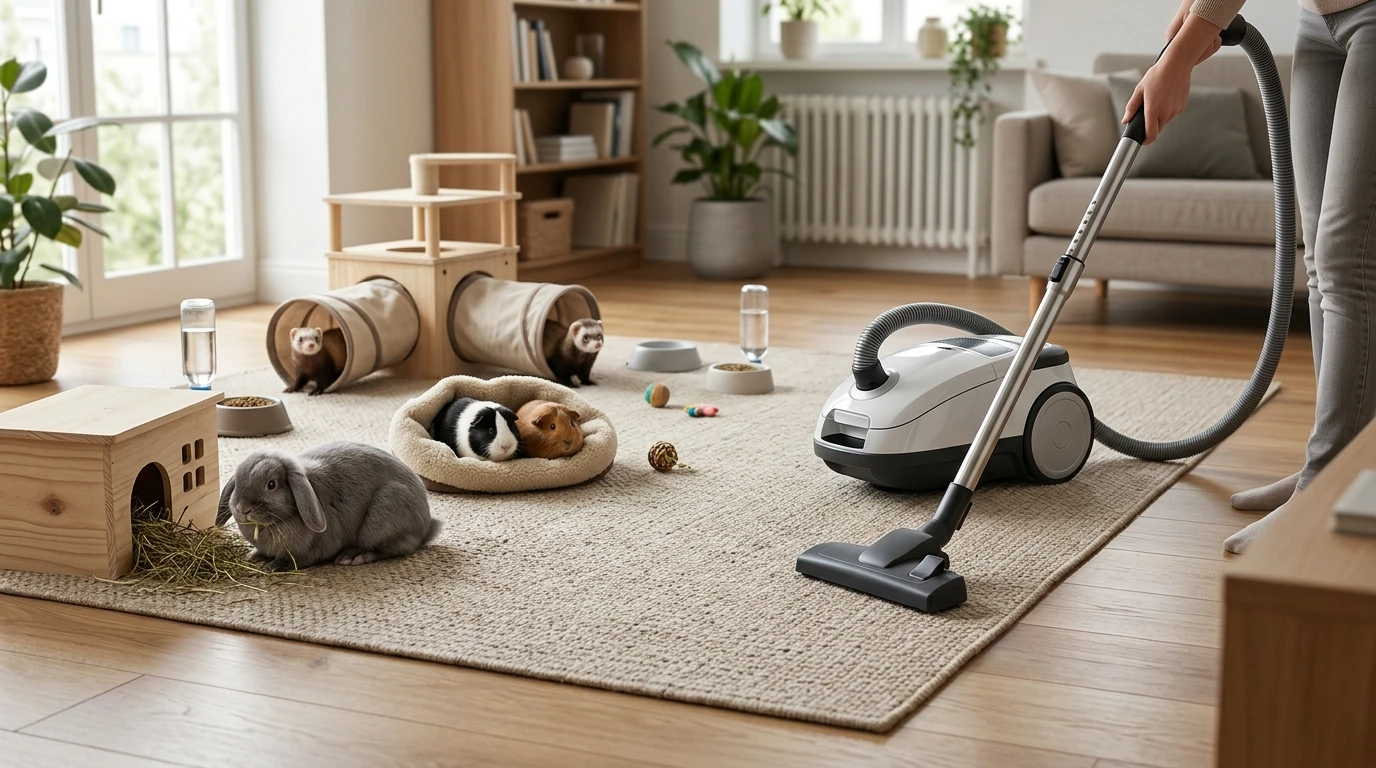
Many dogs and cats can react, but it’s especially common in noise-sensitive individuals, rescues with unknown history, herding/chase-prone dogs, and pets that have been startled or cornered by the vacuum. Rabbits and small mammals may also panic due to loud noise and vibration, so they usually do best with full separation in another room.








Leave a comment